
blog
blog
On this occasion I show you how I made the binding structure for what will be a photo album for a girl.
The first thing I did was cut the 2 mm thick cardboard, with the following dimensions:
- Cover and back cover is 8⅝” wide by 10¼” high.
- Loin: 2½” wide by 10¼” high.
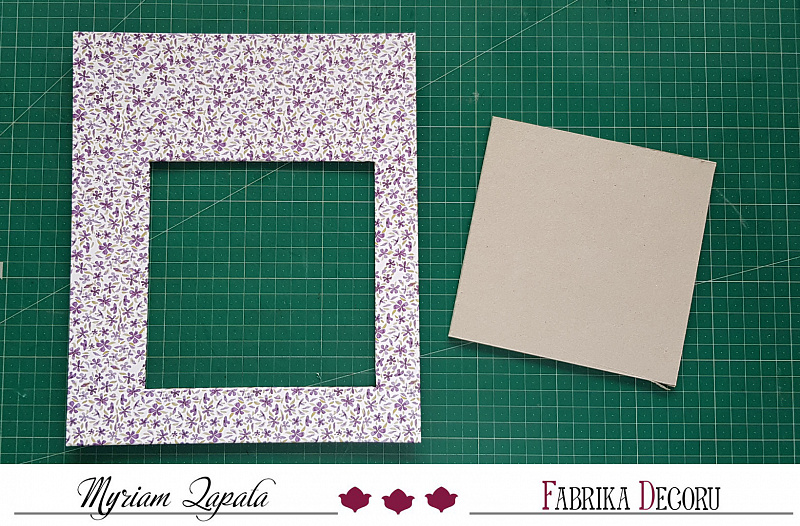
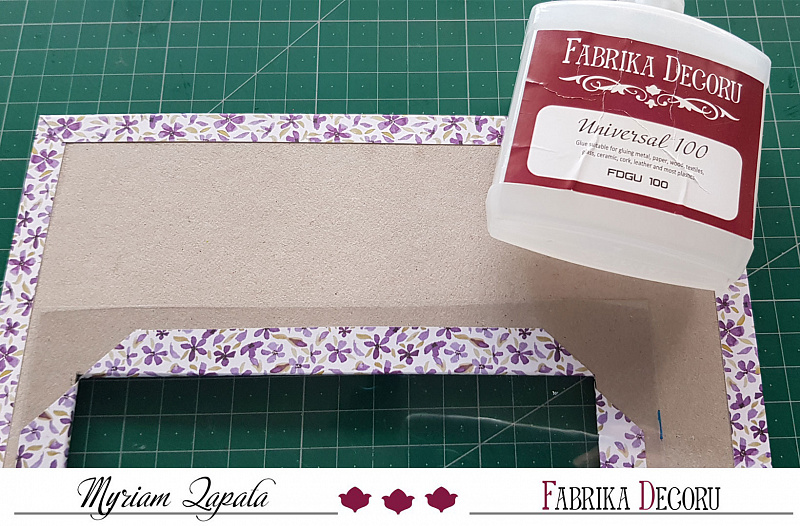
The next step was to cut a 5¾” x 5¾” square on the cover cardboard. Once this was done, I proceeded to cover the front cover, back cover and spine with the chosen paper.
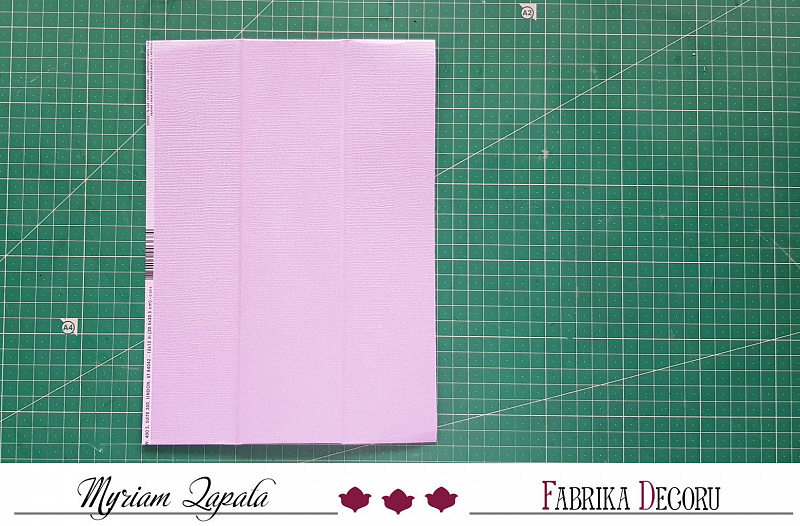
The dimension of the paper for covering the cardboard of the spine is 7½” wide by 11¼” high, so that it is this way...
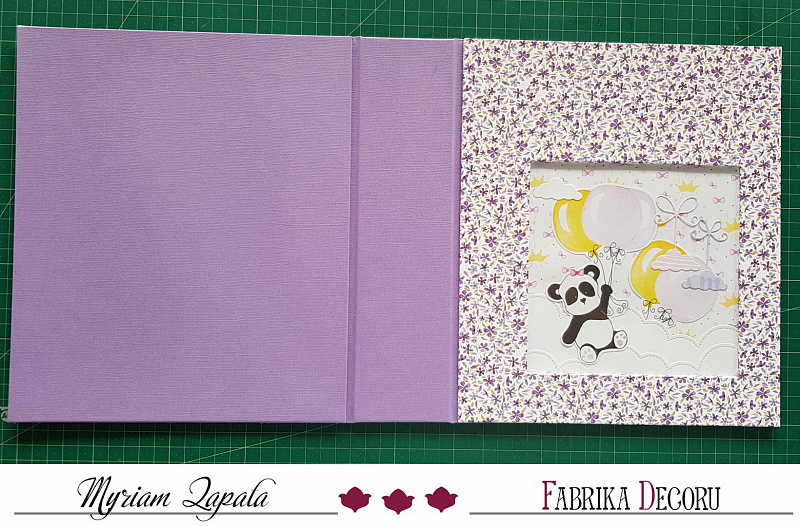
Once this was done I proceed to glue the cover and back cover to the spine, leaving between them a separation of ¼” inches.
This structure is made of white cardboard, whose dimension is 14" wide by 9⅞" high.
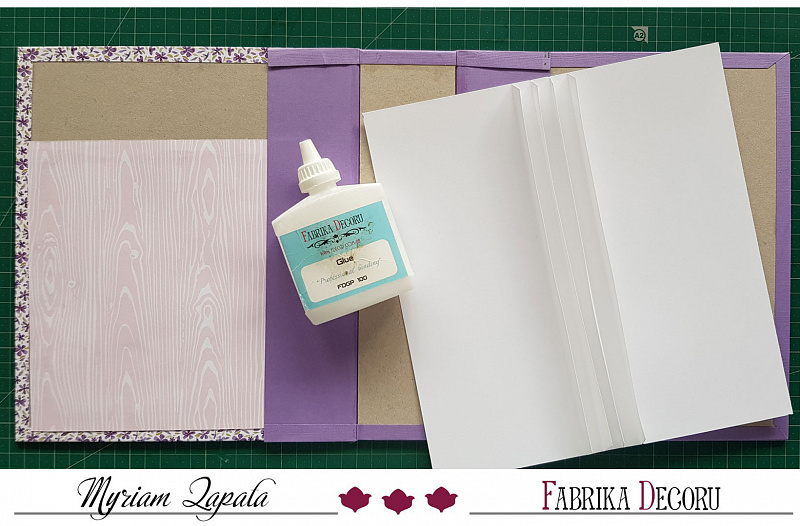
Once glued I let the glue dry well...
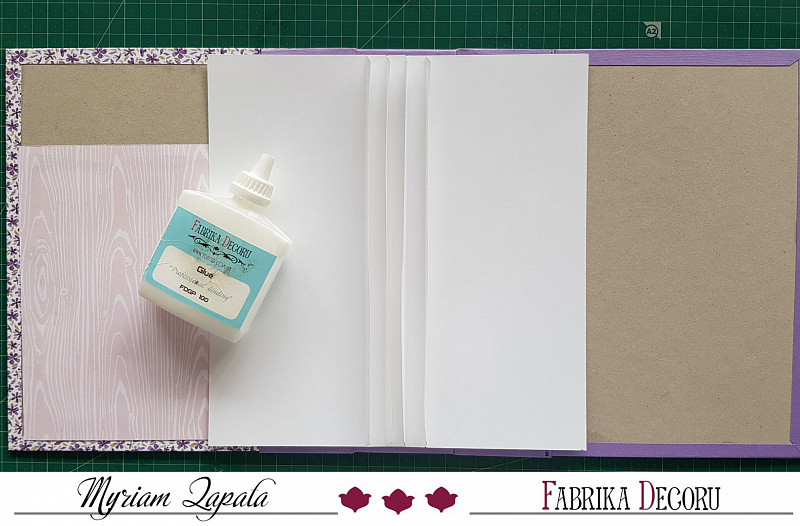
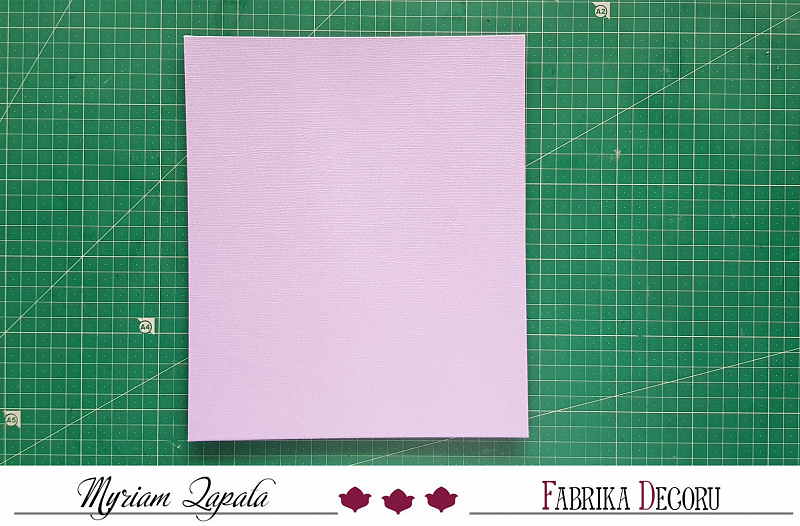
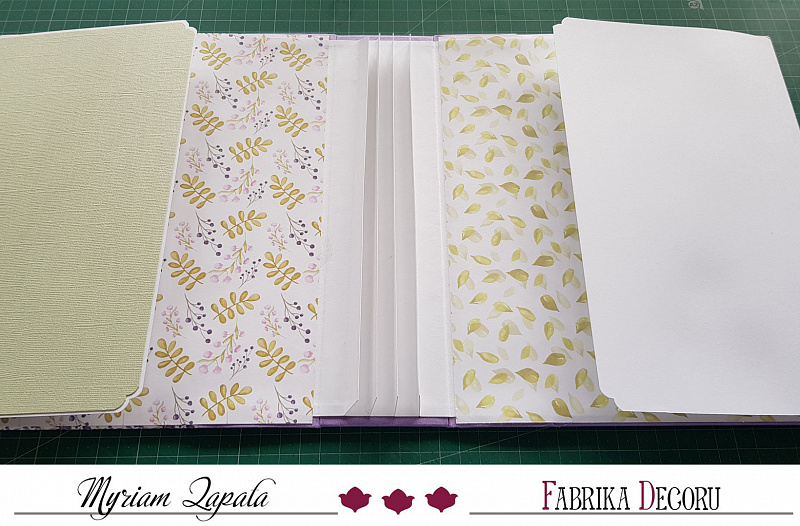
... then I proceed to cover the cardboard with decorated paper.
In this case I have also glued a flap on each of the inside and back cover papers, respectively.
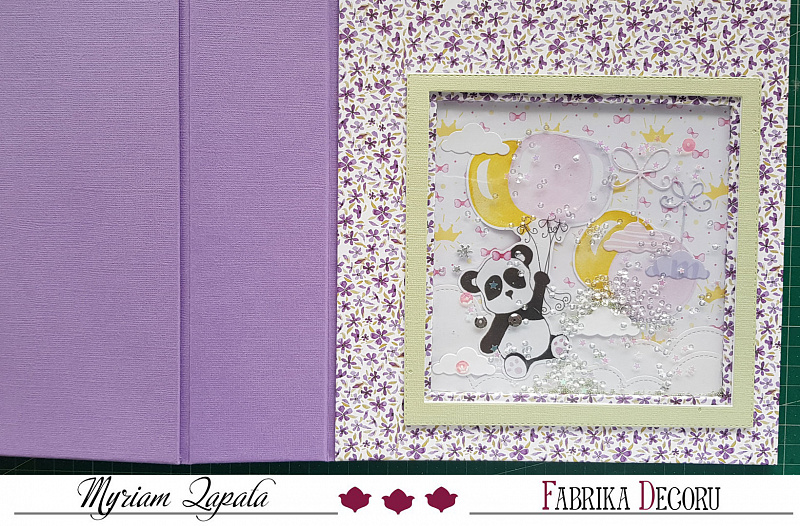
While drying the glue of the structure I cut a frame in plain textured cardboard and on the back I hit a square of acetate.
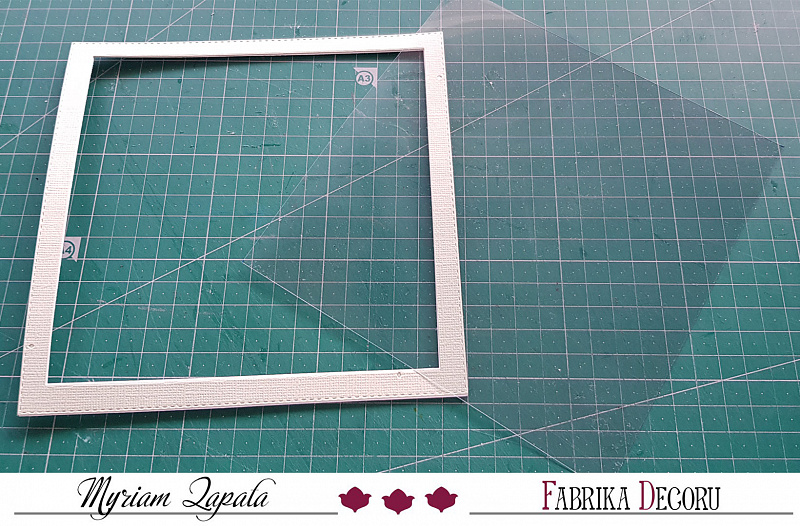
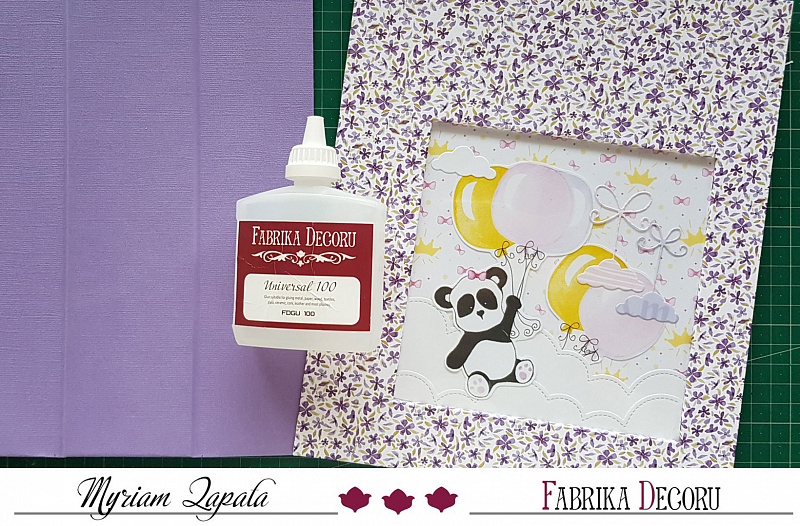
I will paste this frame on the front carboard to cover this decorated space where I have put some sequins.
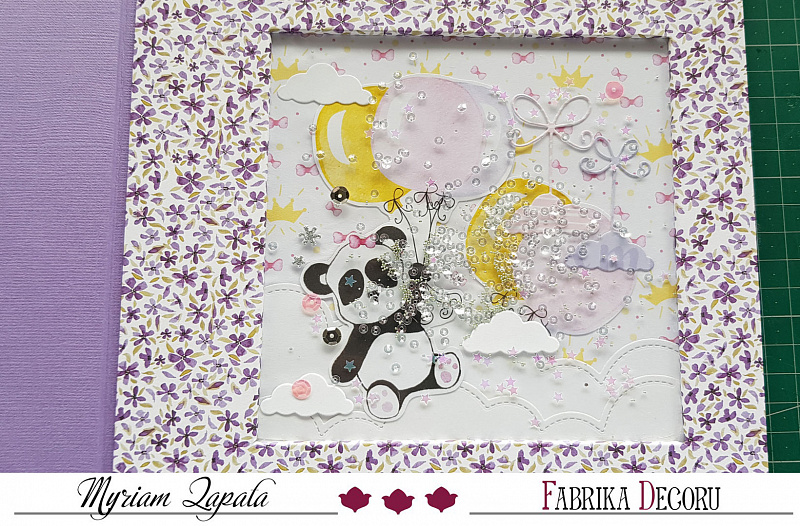
Once the frame was glued it looked like this ...
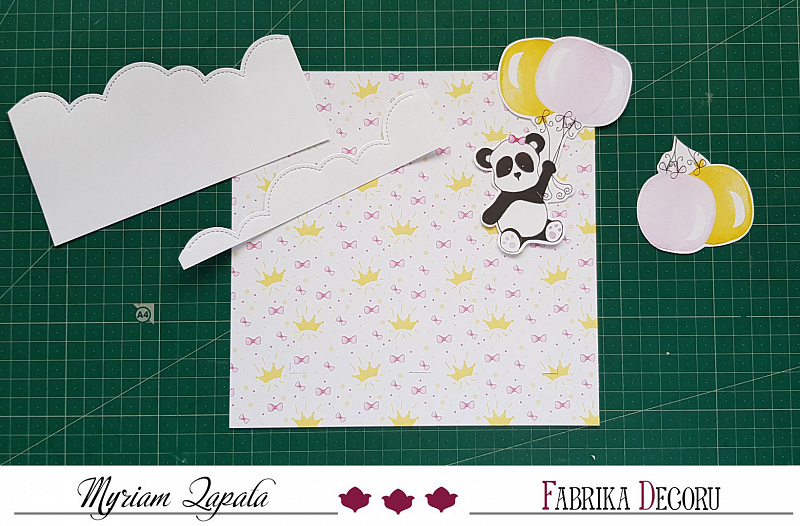
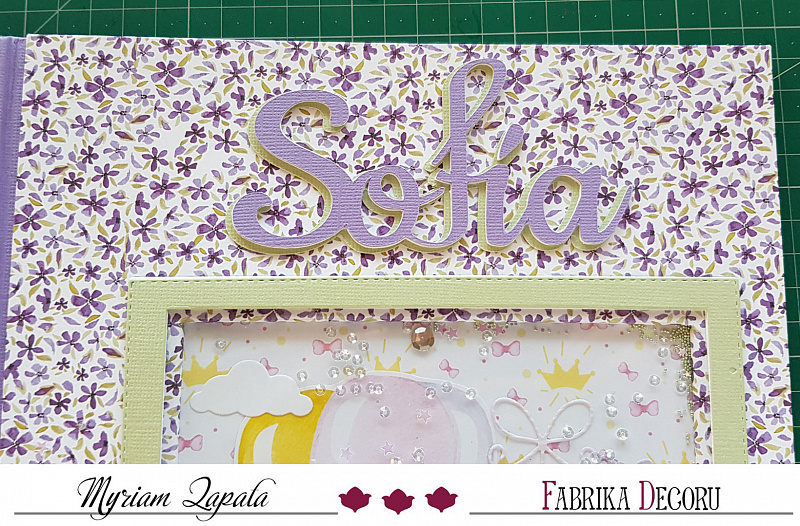
Although as I make the album I will continue with the decoration of the covers, for now it looks like this. I have already put the name of the girl for whom the album will be.
And this is the ‘final’ result...

I hope you liked it and it will inspire you.
See you very soon
© 2014-2024 Фабрика Декору . All Rights Reserved .


