Hello everyone!
Today we are sharing with you an interesting project created by our designer Olena Karavaieva.
Do not forget that Fabrika Decoru has prepared a bonus for you! At the end of the post, you will find a DISCOUNT PROMO CODE for the materials that Lena used to create her project! Take advantage of the wonderful opportunity to purchase high quality materials! Active links to materials and terms of use of the promo code are at the bottom of the post.
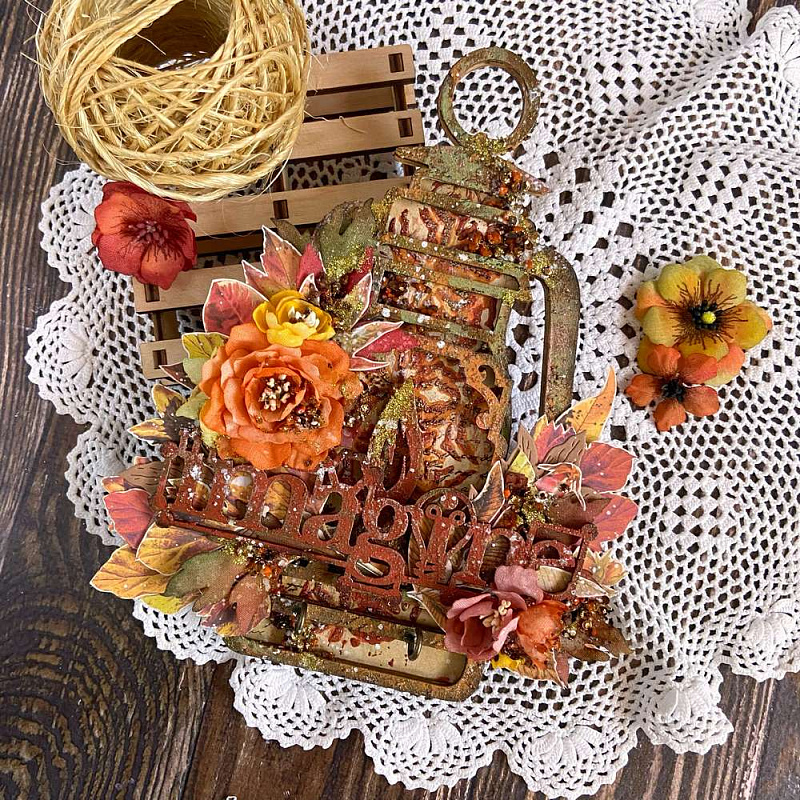
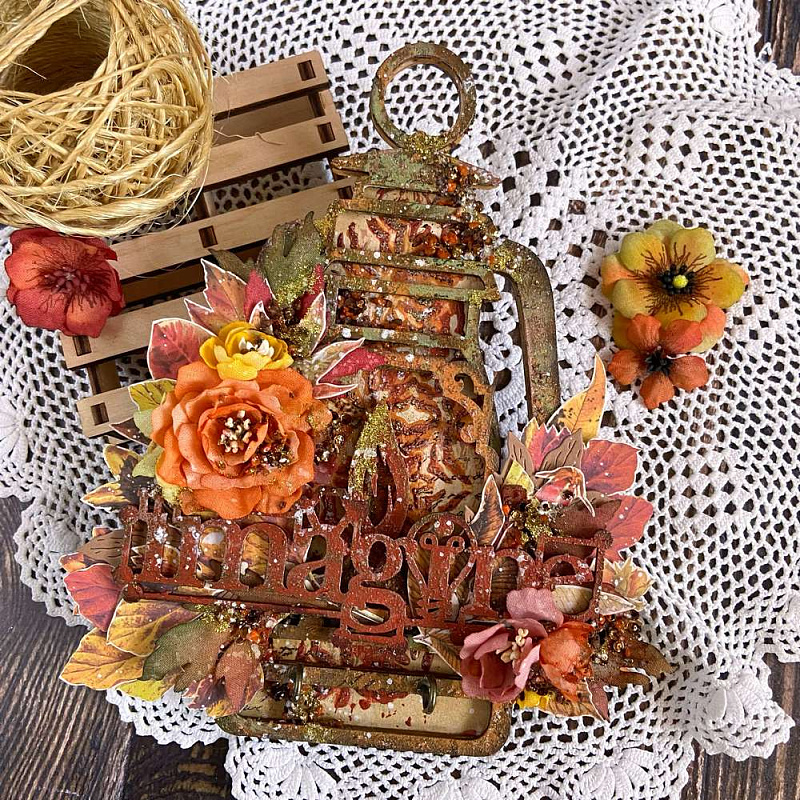
Let’s see what Lena says about her inspiration: "Today I am sharing with you a small autumn tutorial. This time we are going to make a key holder from an artboard.
If you have the same problem as me when all the keys are dumped into a pile, and then, when you are in a hurry in the morning, you have to unravel this key lump, then it will be interesting for you to watch my video tutorial! Indeed, my life experience inspired me to make not just an artboard, but also to make it functional and useful in everyday life. Well, I'll tell you briefly how and what I did, but you can see everything in detail in the video below.
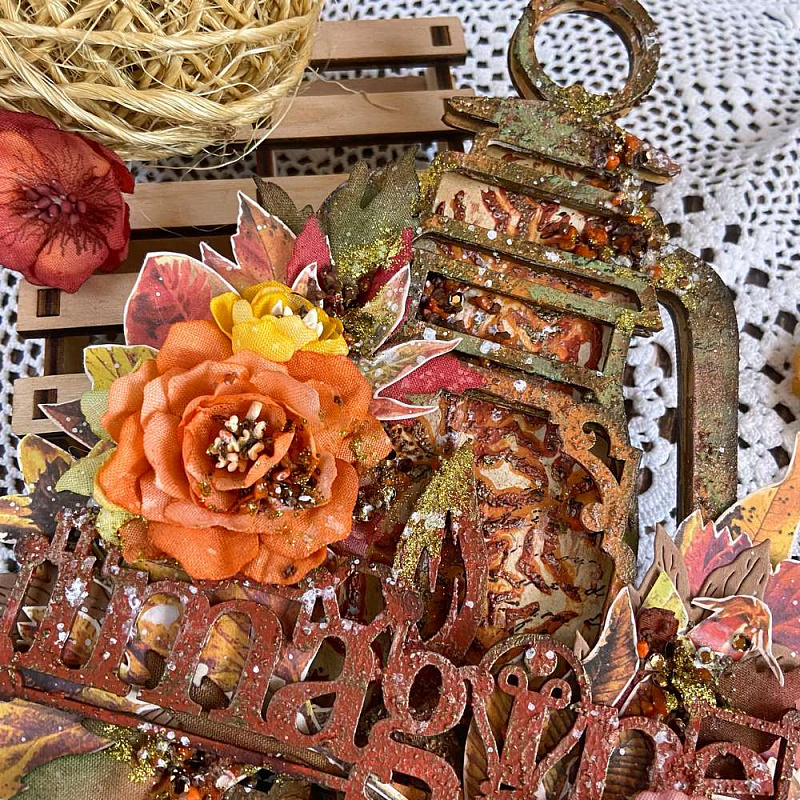
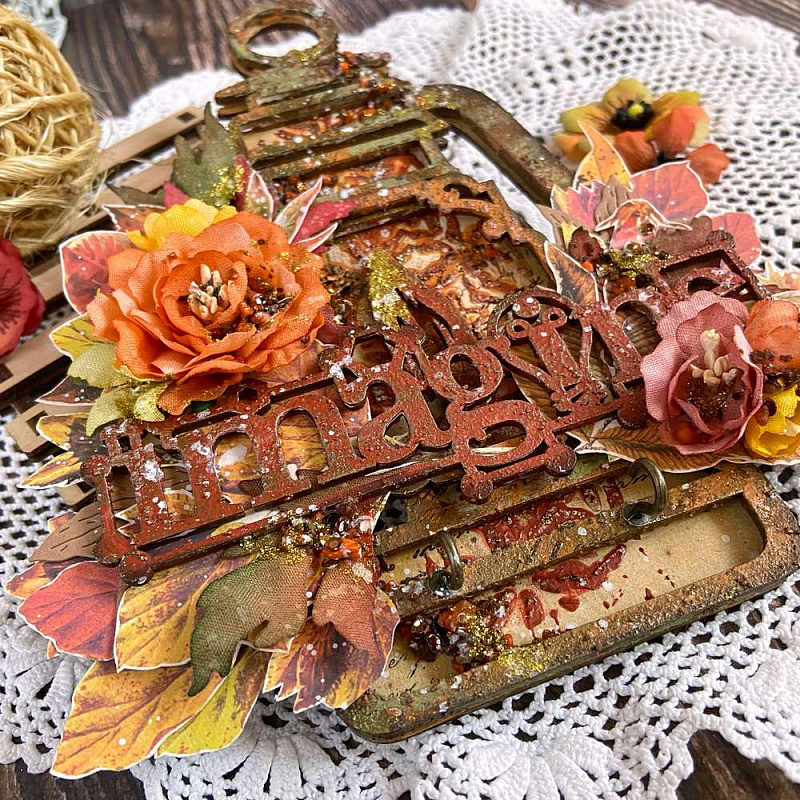
Our artboard blank consists of two parts. In order to create a 3D effect, I decided to add some binding cardboard under the top layer of the blank.
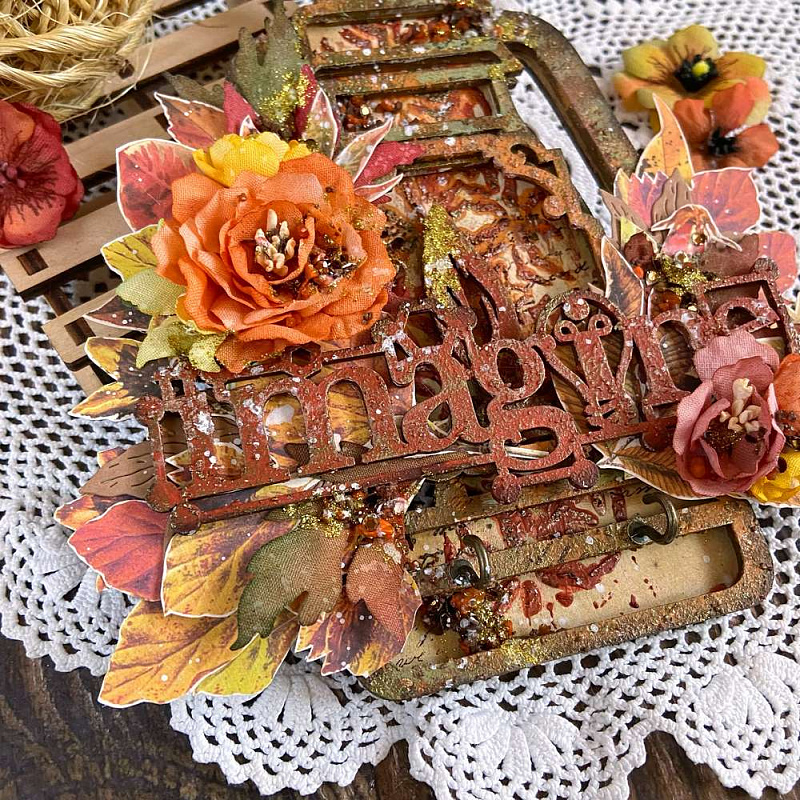
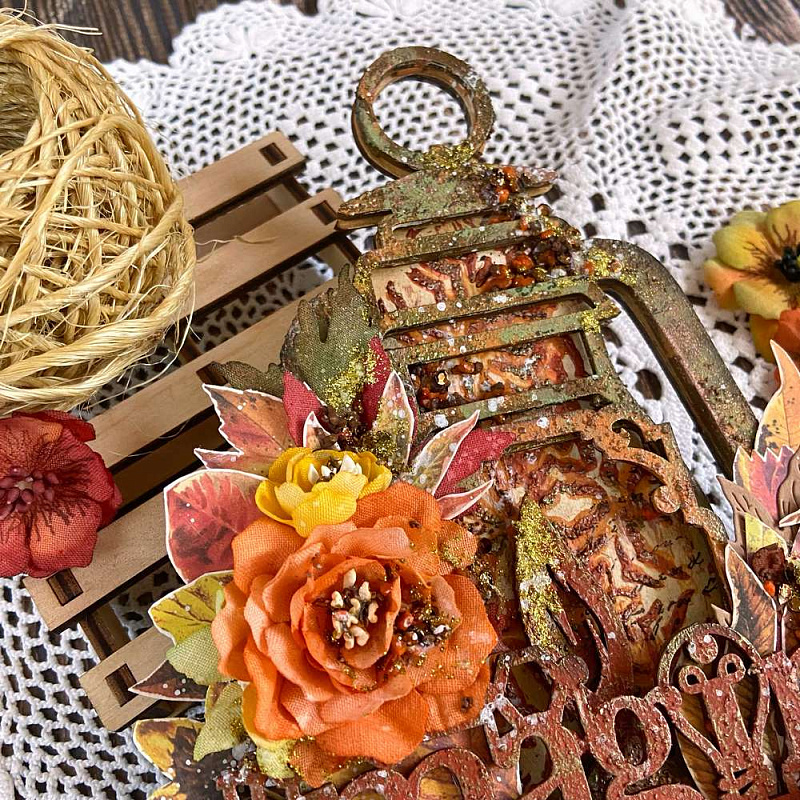
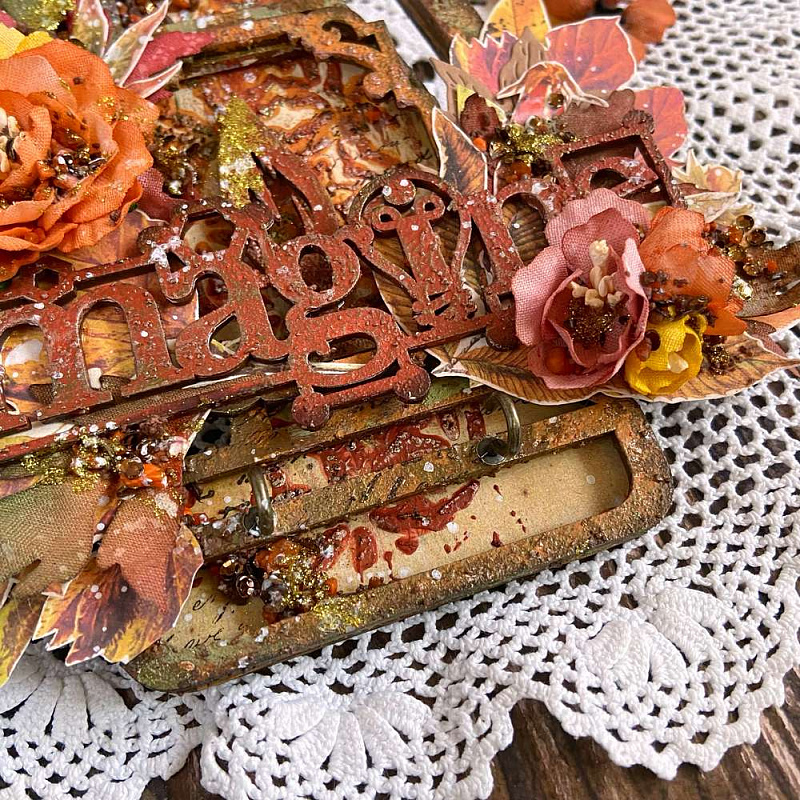
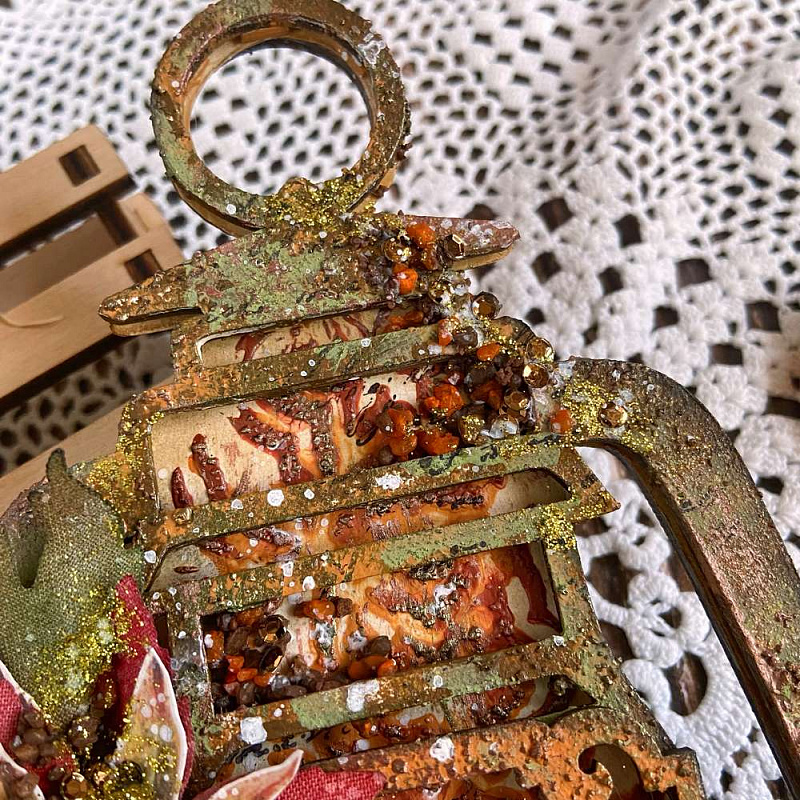
First, I cut out the background from the scrapbooking paper and glued it to the bottom of the blank. I covered it with transparent acrylic medium. Next, I applied two colors of rustic paint through a stencil. The upper blank and two more elements - the frame and the inscription (from the sets for decoration) were covered with white acrylic primer. After the primer dried out, I started painting the surface and decorative elements with three colors of rustic and shabby velour paint (all the colors used are at the bottom of the post and in the video)

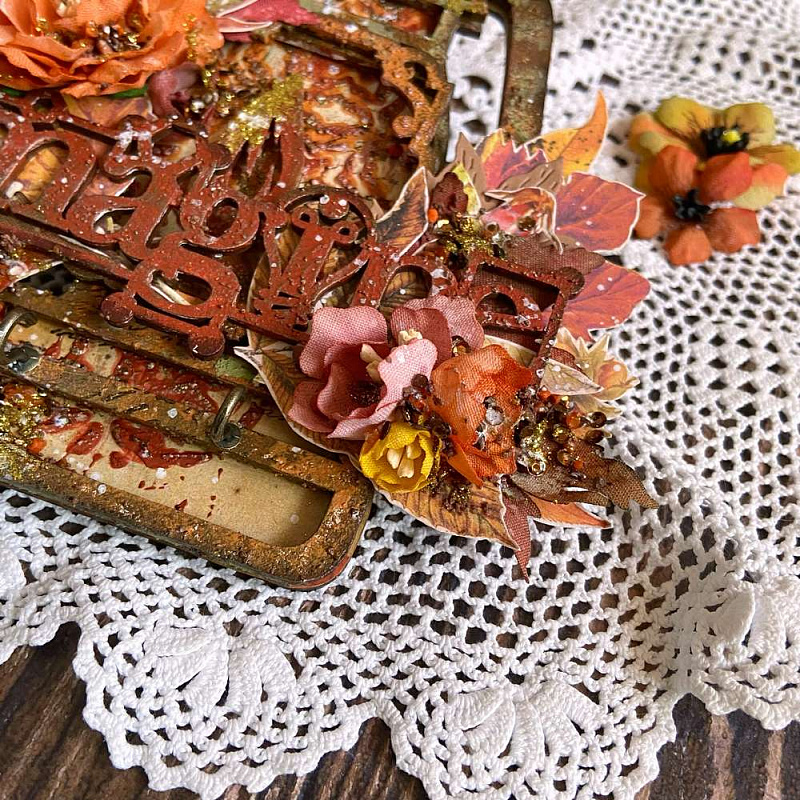
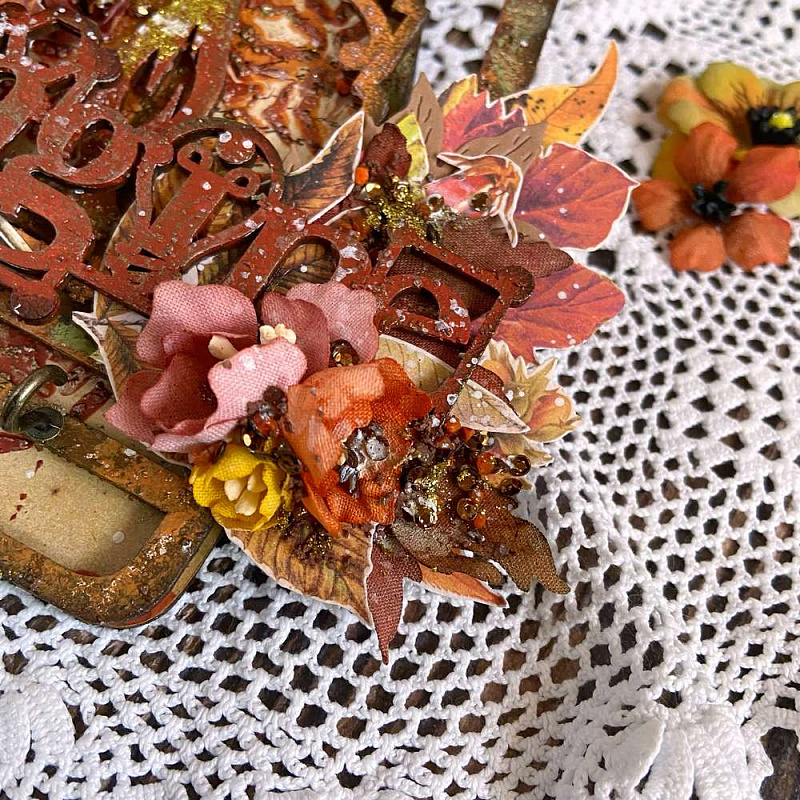
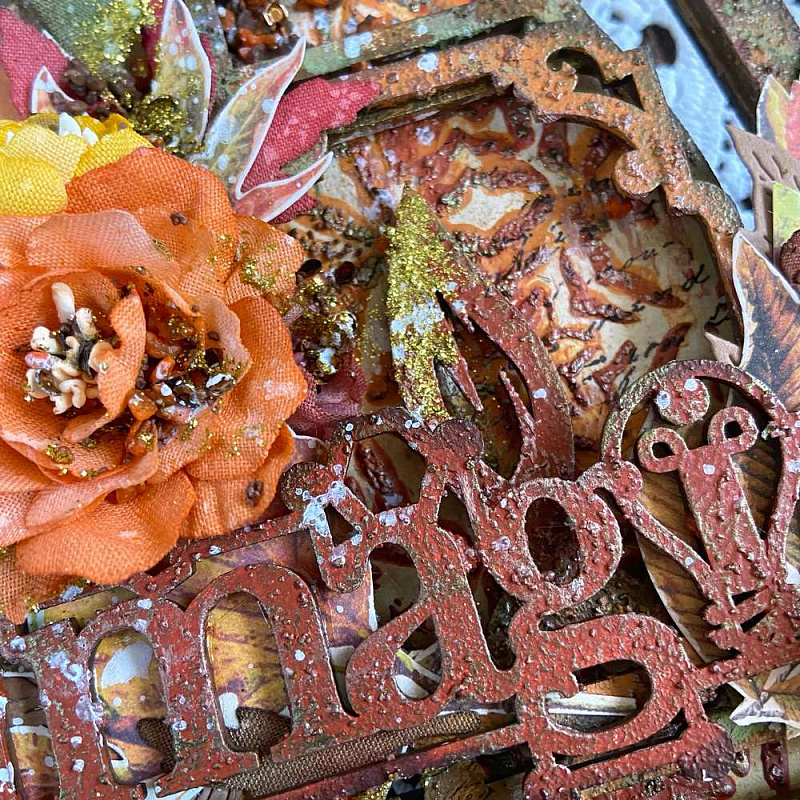
Then I dried everything out with a hairdryer and added some metallic paint and airy mouse metallic, going over all surfaces with a dry brush. I slightly toned the edges with stamp pads and added some stamping. After those manipulations, I assembled the artboard. I glued together all the blanks except the inscription and fastened the hooks. In advance, from a sheet of elements for cutting and a sheet of the same scrapbooking paper, I cut out leaves for embellishment and proceeded to the embellishment of my artboard key holder. After the final assembly, I added some toppings, sequins, glitter and splashes of paint.
In the result, I got an original autumn-style key holder, functional and beautiful "
The video tutorial on creating the autumn key holder is already on our channel:
Happy crafting to you!