Hello everyone!
Lena (@lena_rukodilnik) is with you today.
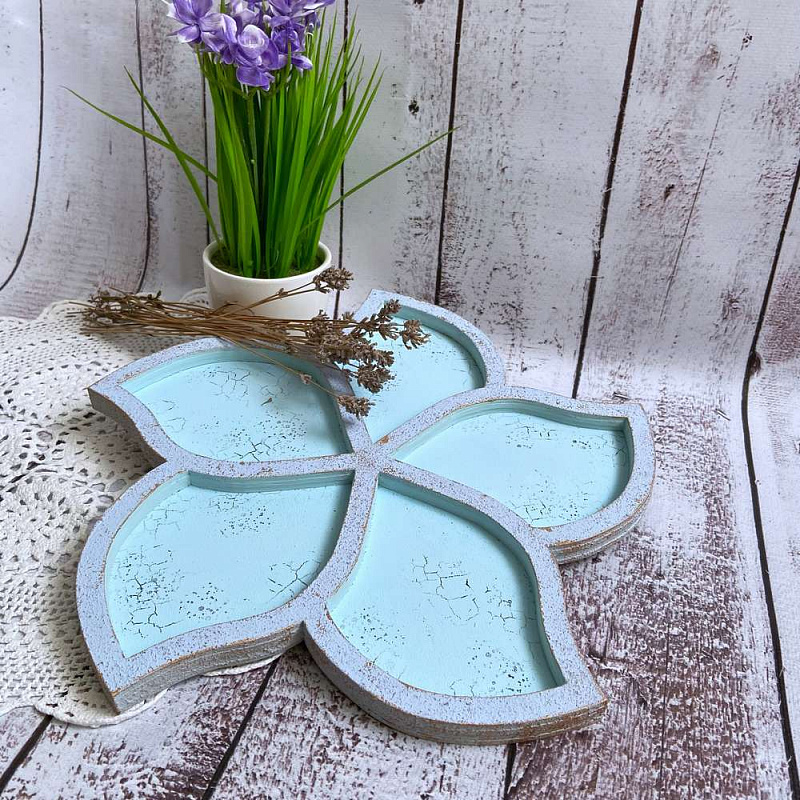
I want to share with you a tutorial on making a mixbox - a useful thing for storing small but so important things.
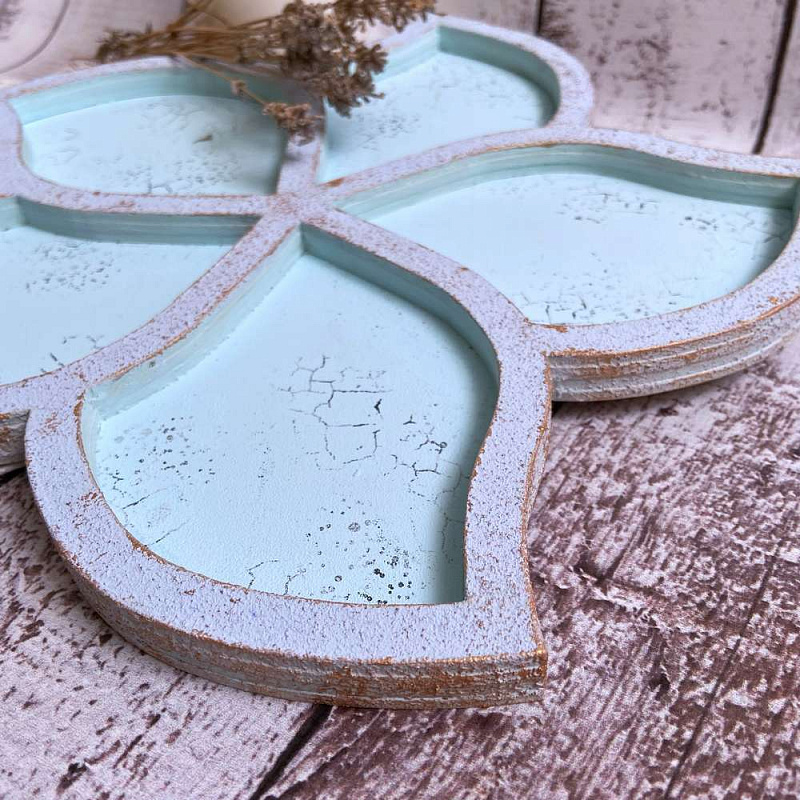
I really like all kinds of blanks, and especially decorating them. In this tutorial, I will show how to make beauty out of the minimum. And you can watch everything in detail in the video below. Our mixbox blank consists of four parts. Three of which will act as sides and a bottom of the mix box.
Well, the whole process took me 3 hours, so you will have a beautiful and practical object in such a short time. And the main thing is to enjoy the process)))
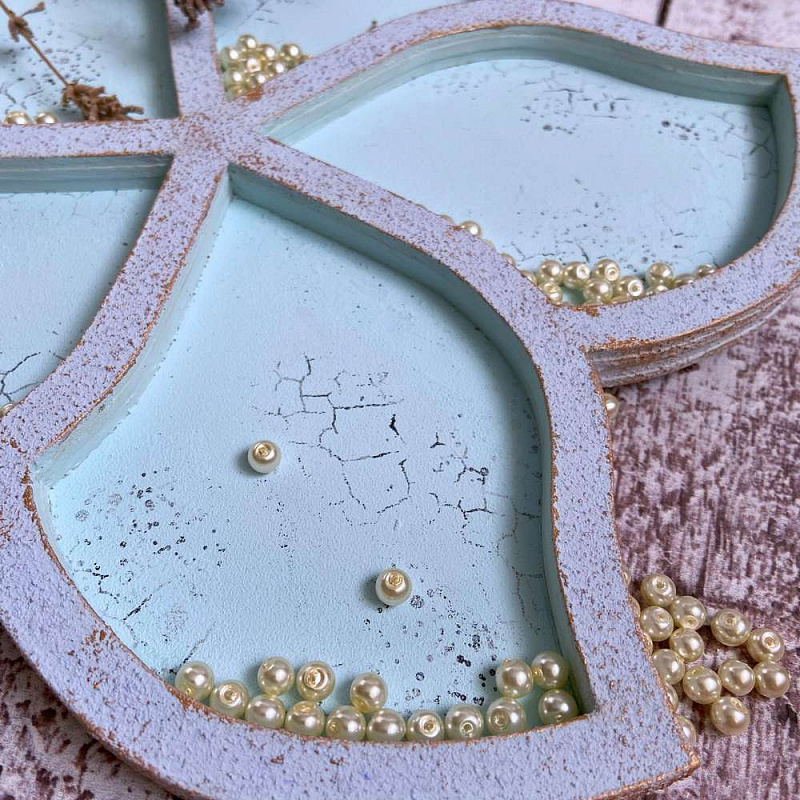
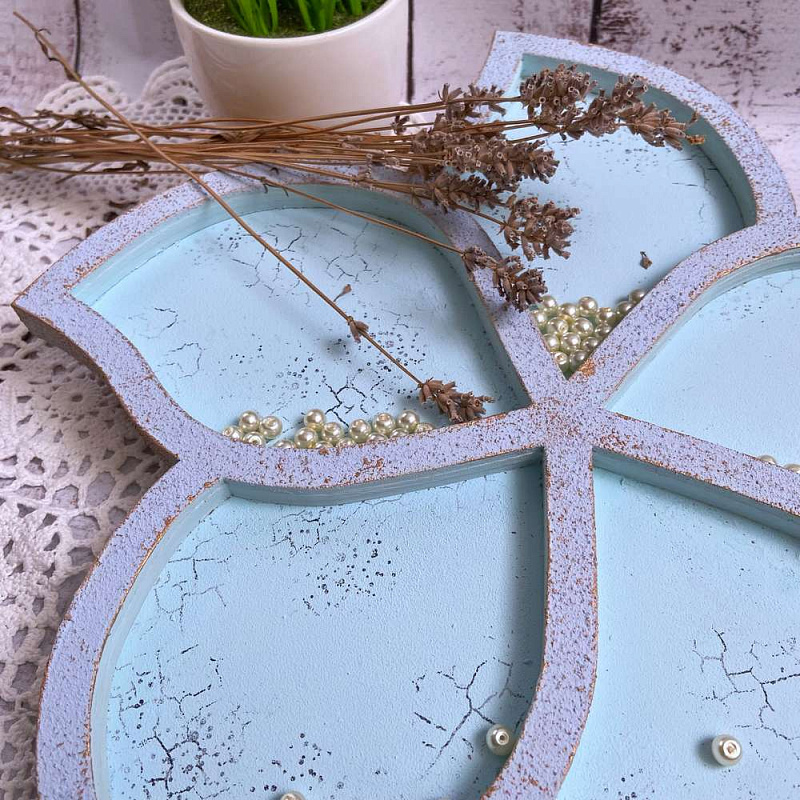
Well, first I painted the bottom of our box. I painted it with Chalk Paint, the color is vintage blue. This paint is simply incredible, working with it is a pleasure. Also, with the help of Deco-wood glue, I collected all the elements of the sides and painted them in the same color.
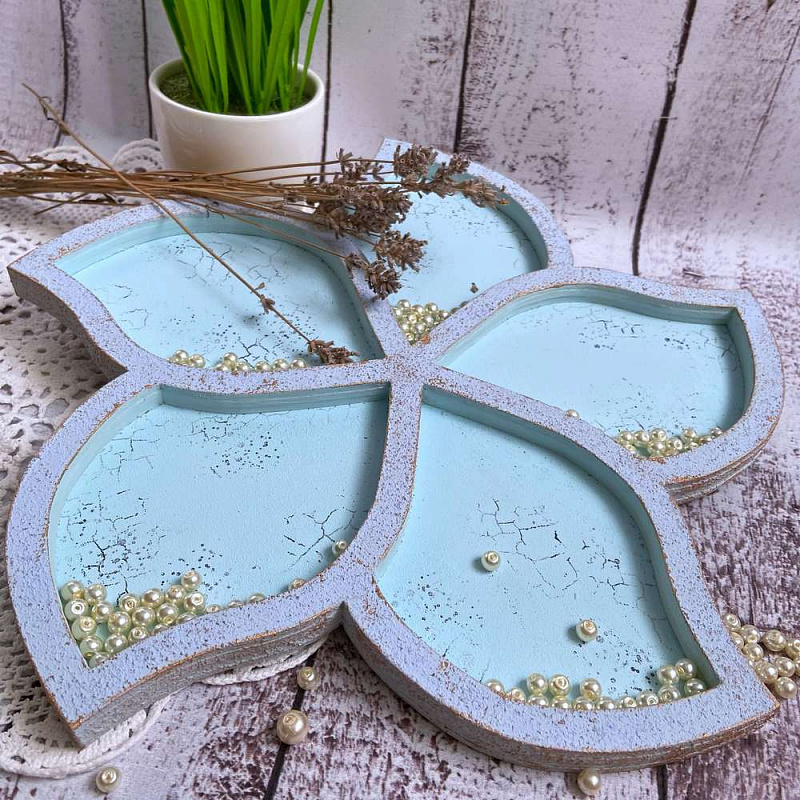
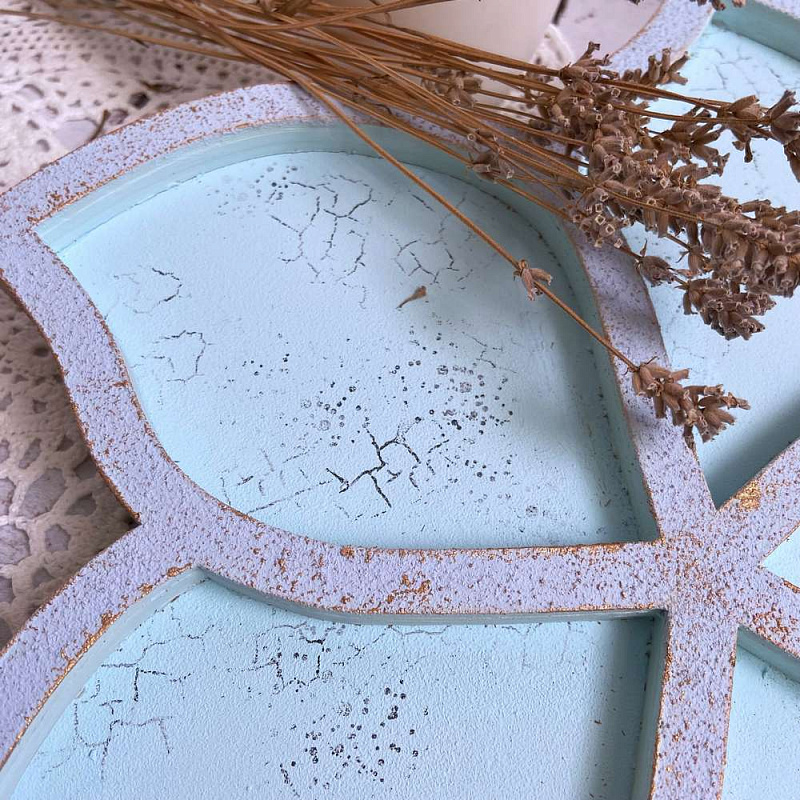
Then, after all the blanks dried out, I added a little stamping and assembled the whole structure using the same Deco-wood glue. This glue perfectly holds all the parts, it seems to fuse them together, so nothing will come apart.
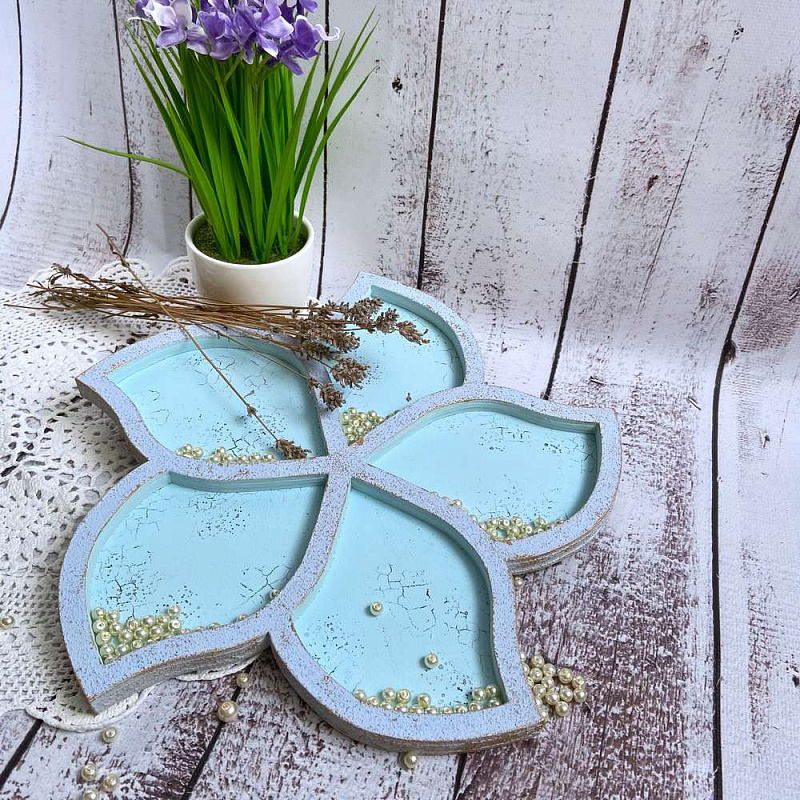
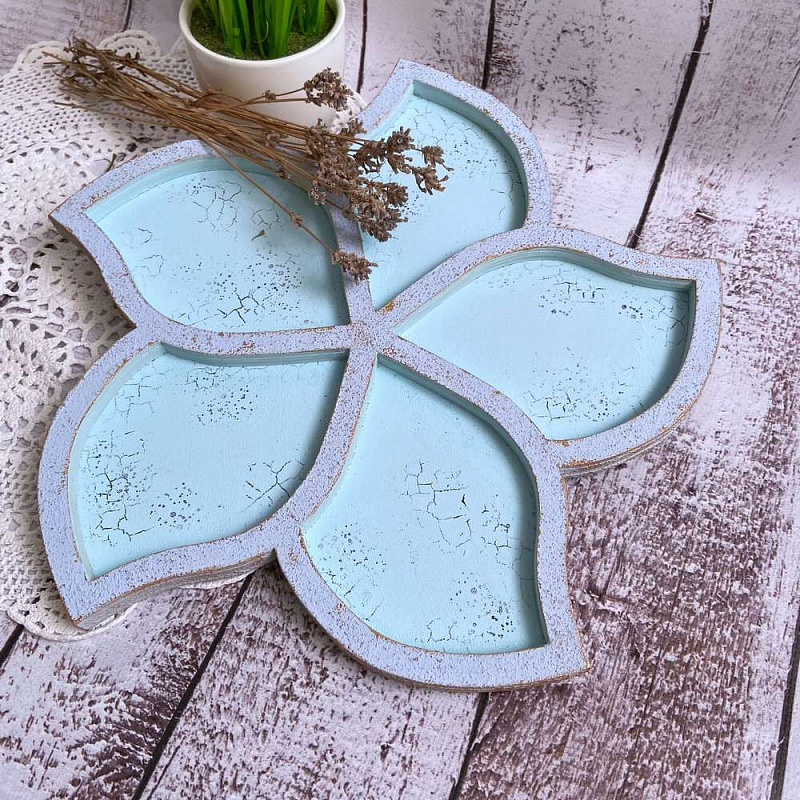
Then I painted the upper sides of the box with shabby velour sky paint, which incredibly emphasized the previous color. In order to highlight the texture of the shabby velour paint, I decided to go a bit with Maya gold metallic paint.
That's how quickly, easily and simply you can decorate any of the blanks by TM Fabrika Decoru!
I invite you to watch a video tutorial below:
Happy crafting to you!