Hello everyone!
Today Julia Pilat @pilatyuliya is sharing with you her tips on how to fix embellishments on a notebook cover.
Let's see what Yulia tells about her inspiration: "Today is February 14th. And I have an opportunity to congratulate you on this holiday! I wish you all good, love and positive emotions. Love and be loved.
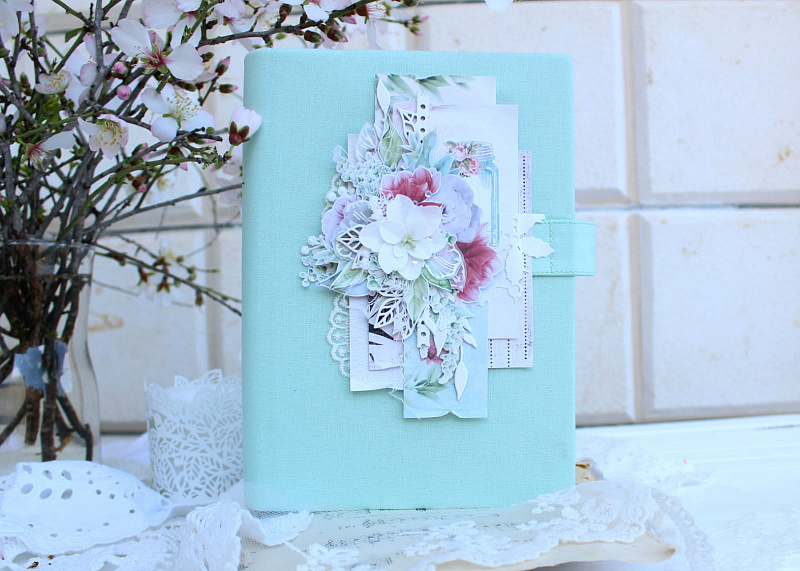
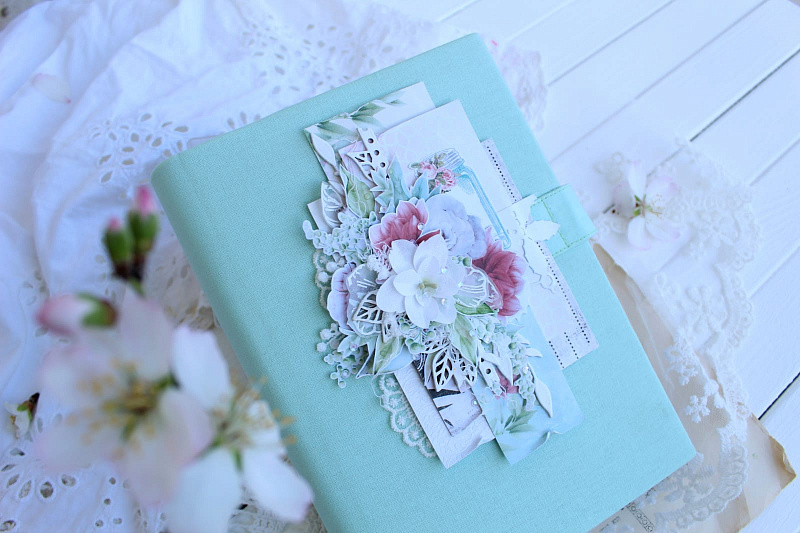
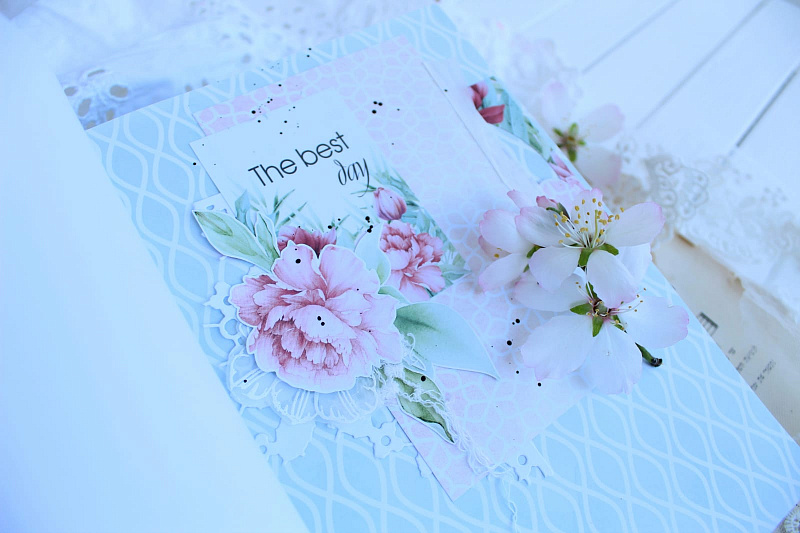
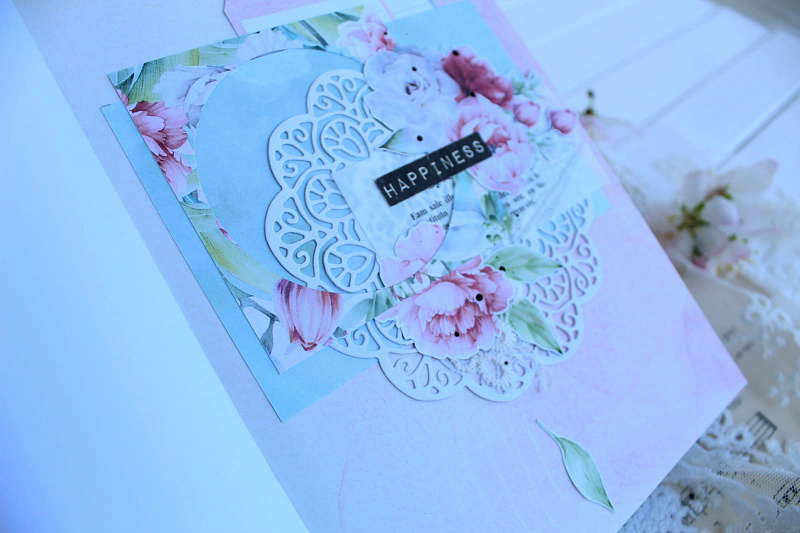
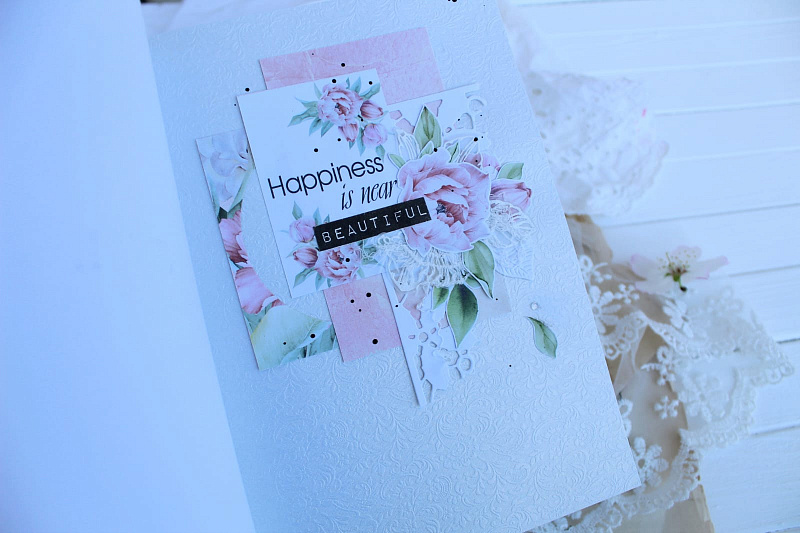
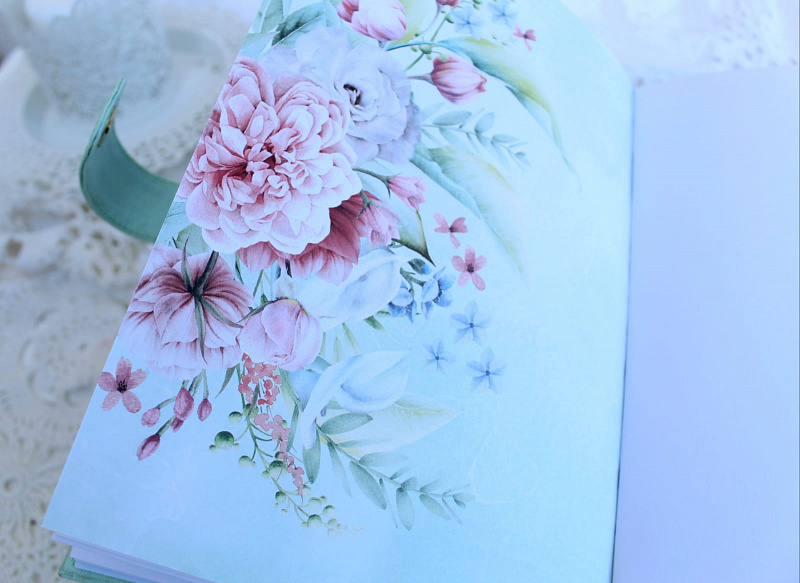
Today I want to share my life hacks on how to "strengthen" a gentle and airy (at first glance) composition on the cover of a notebook. How to make it strong and reliable when using. And how to keep the balance between beautiful and practical things. You will see the process of creating a composition in the video tutorial below.
Let's start with the fact that the glue we use matters. It is also important to understand which glue and for which surfaces / textures it is better to take.
First:
When working with different textures (for example, fabric-paper, fabric-lace, glass-canvas, sequins-fabric, etc.), I use a 3D gel from fabrika Decoru. This is a medium. It adheres to a surface well and after drying does not leave any marks. When working with paper (paper-paper) I use universal glue, when working with fabric - professional binding glue.
Second:
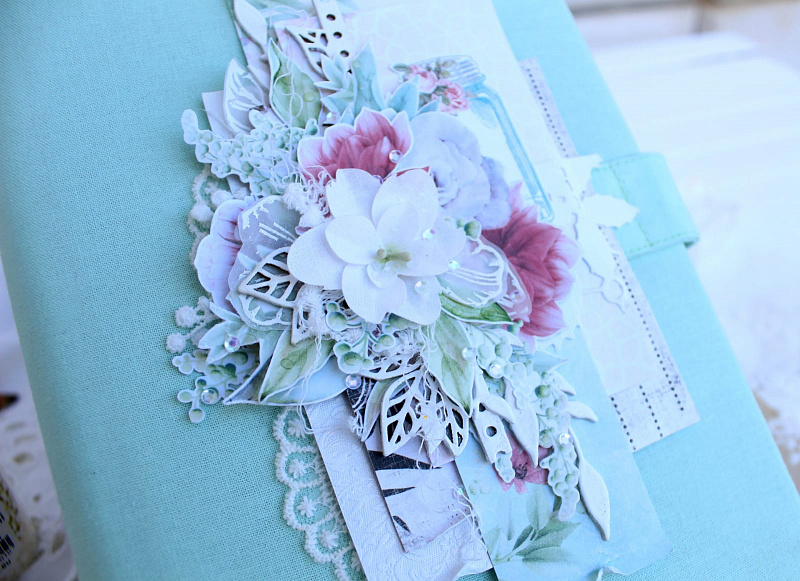
To strengthen die cuts, cut out elements, parts of the composition protruding / floating in the air - on the reverse side, I fill them with glossy glue. It is not always good when the entire surface shines a lot so I do it on the reverse side. And on top I use transparent matte medium from Fabrika Decoru. It is IMPORTANT! Mrdium and glossy must dry out only in a natural way (never use a hair dryer - the medium can become white from heating).
Third:
It is better to refuse from large 3D elements and lots of layering. But, adding beer cardboard between the layers, lifting the composition just a little, is quite possible. This will not affect the usability of the finished product in any way. But aesthetically, the project will look better.
Fourth:
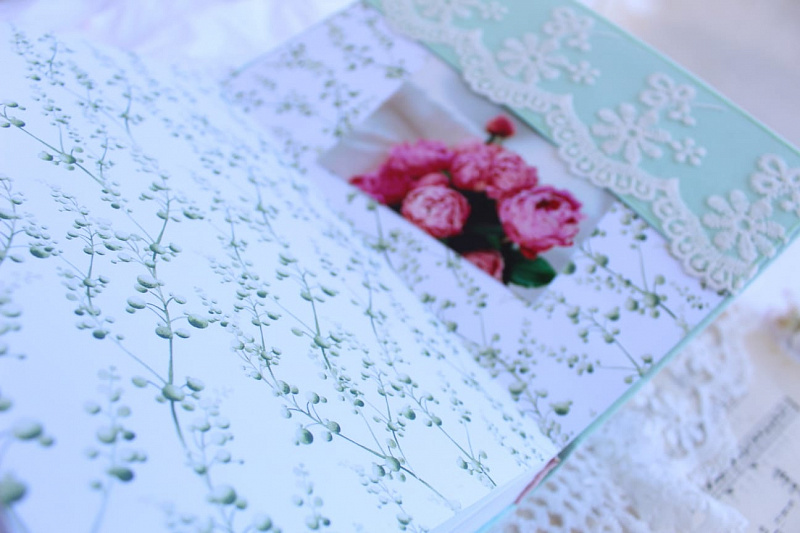
It is better to give preference to fabric flowers. They look beautiful, do not have a large volume (they do not interfere with writing), and are more durable when using a notebook.
Fifth:
I use cardboard for die cutting and emboss it on both sides. It is better to glue every openwork element completely, tightly (without leaving any edges without glue). Chipboard first is primed on both sides, then I add embossing and adhere chipboard elements on 3D gel.
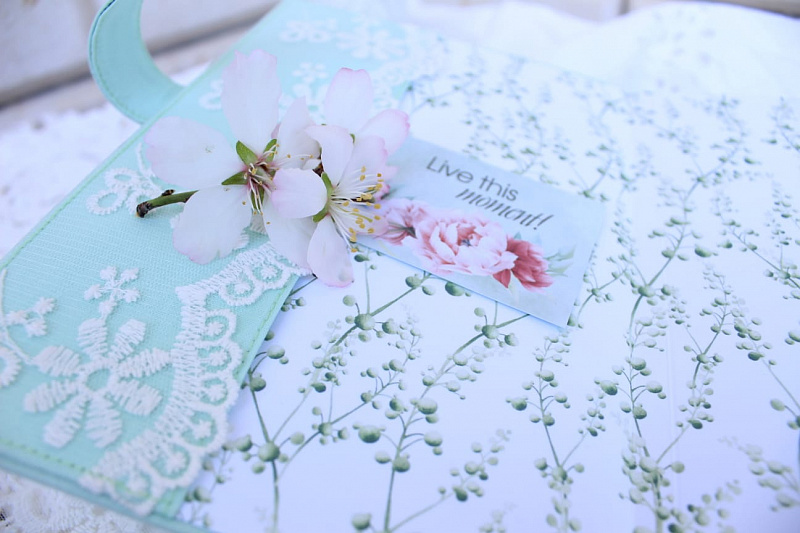
I don't like to use sewing stitch on paper. Now I will explain why. It violates the integrity of the paper itself, which does not affect the strength and reliability in the best way. But the fabric or lace on the cover (lash) must be fixed with a machine stitch.
And of course ... use quality materials that have stood the test of time.
And what methods / techniques do you use for the reliability and strength of the finished product? Be sure to share in the comments. After all, every master has a couple of secrets."